What Does the Solar Panel Installation Process Look Like? Clients Will Want Answers
 When a homeowner brings in a solar installer to get an estimate on their project, one way to build trust with the homeowner is to provide them with answers to all their questions and concerns. After all, installing solar panels is an invasive process and a lot of homeowners will naturally worry about how the installation will be performed and how the work will affect the integrity of their roofs.
This is where it can be beneficial to break down the solar panel installation process, so the homeowner can know exactly what to expect and when. Here’s a quick refresher about the steps to installing solar panels.
Step 1: Site Evaluation
The first step in any solar installation is a thorough evaluation of the job site. This is required for you to ensure the home is adequate for a rooftop installation and so you can size and design the system properly. Other parts of the home that are included in the evaluation include roof, attic, existing electrical hookups and circuit box, and the area where the inverter and battery placement (if applicable) will be installed.
Step 2: System Is Designed, Finalized, and Submitted for Permits
Once the results of the site evaluation come back, any changes to the original system’s design that need to be changed are made and the revised design is given to the homeowner for their review and approval. If the homeowner approves of the updated design, then the finalized system is submitted for permit approval. Upon permit approval, certain fees need to be paid but, in most cases, those fees are included in the total system cost.
Step 3: The Solar System Is Installed
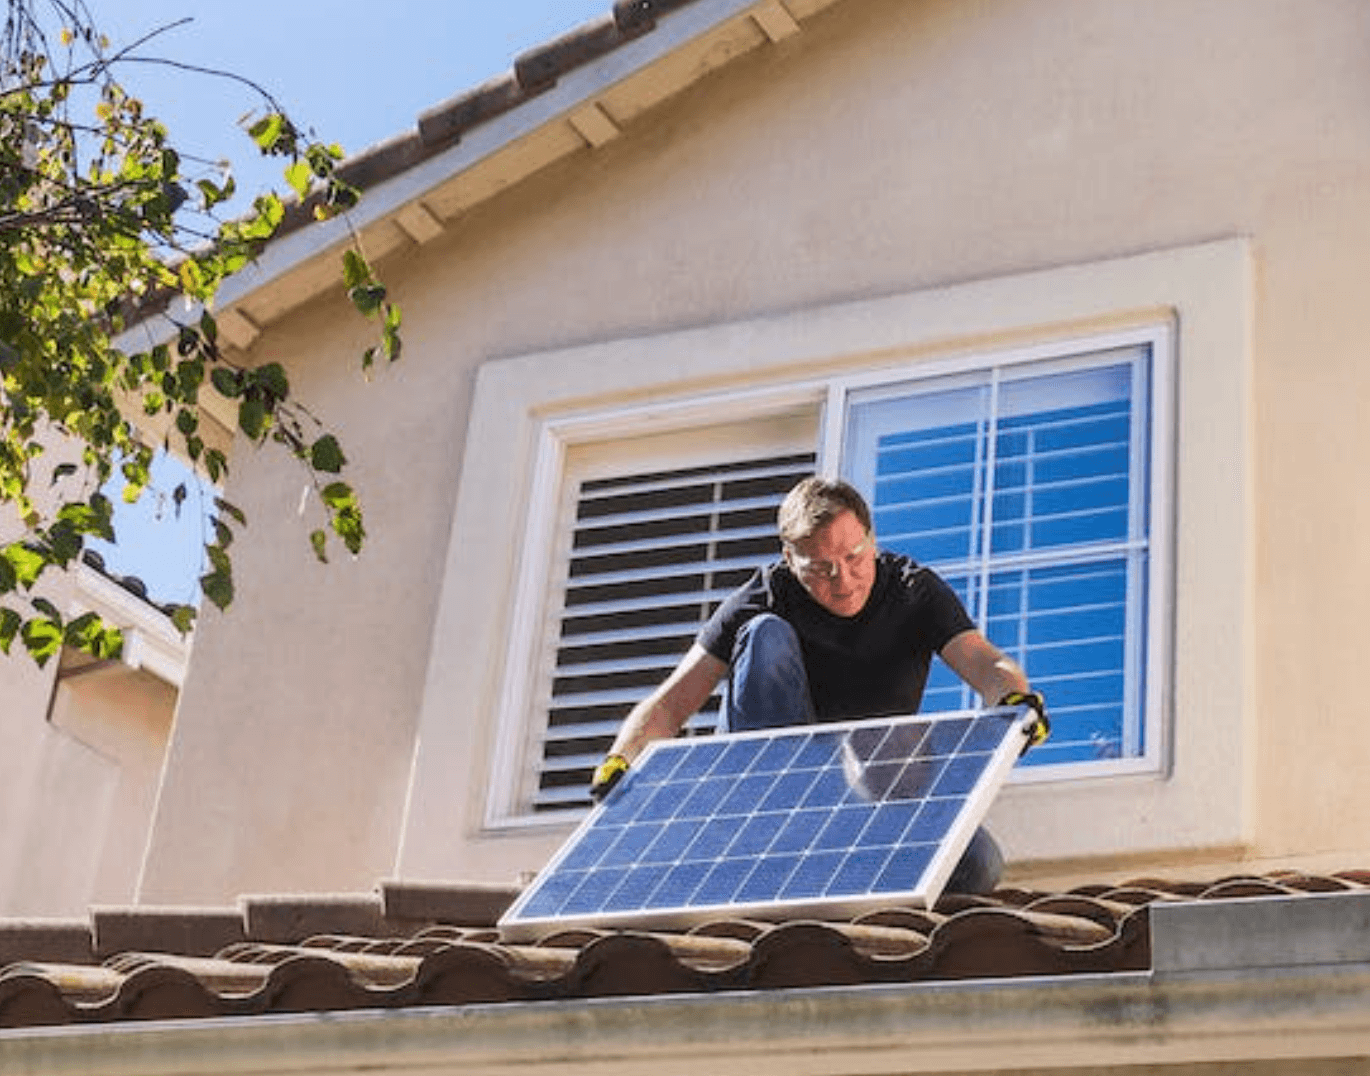
Depending on various factors, a solar installation can take anywhere from a day or two to several days. Usually, the installation will include scaffolding being erected on the outside of the home for safety purposes. The solar panel mounting hardware is installed directly to the roof and pitched at the appropriate angle, followed by the solar panels being secured to their mounts. In some cases, a roof may need additional support structures installed in the attic before the mounting brackets and panels can be installed.
The next step of installation involves the wiring the solar panels to the inverter and solar battery, if one is being included. Once complete, the inverter is connected to the circuit box to generate electricity. A generation meter is also connected to monitor the amount of electricity the solar panels produce.
Step 4: The Solar System Is Turned on and Tested
The final step of the installation process is to power the solar system on and test it to ensure it is operating as designed. After the test is performed, the solar panel installation process is completed. The homeowner can now enjoy all the benefits that come from using fully sustainable, clean energy.
Purchase Solar Leads from an Industry Leader – RGR Marketing
RGR Marketing can provide you with exclusive access to high-quality solar leads that can directly impact your sales results in a positive way. With more than 20 years of experience serving the solar industry, we’re the lead generation firm solar installers turn to first when they want to fill up their installation calendars. The reason is because unlike the leads you get from other lead generation firms, our leads are validated and scrubbed to remove any dead leads or incomplete or duplicate contact information before you receive them. And our leads have also shown recent increased interest in going solar.
Partner with RGR Marketing today and get the solar leads you need to help ensure that this year’s sales will maximize your company’s growth and revenue potential.
Start making more
money today!
Search Categories
Tags
Tag Cloud
Latest from Twitter
Contact Us
Call us at 310-540-8900 or fill out the form below and we’ll tell you how you can get high quality leads for free*.
* Get up to 10% free leads on your first order!